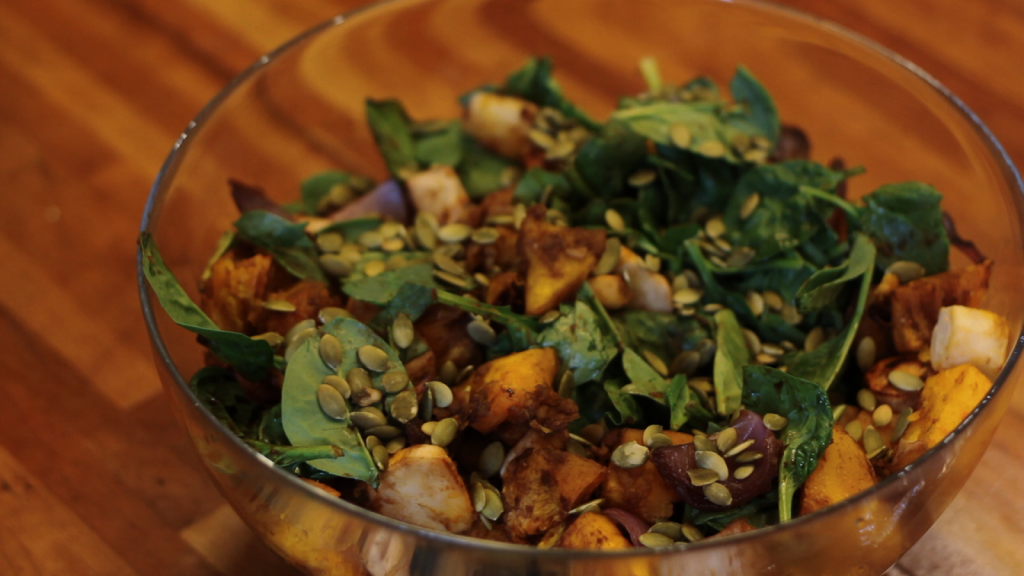
eHow Video: “Roasted Root Vegetable Salad with Pumpkin Seeds”

Root-Salad-2

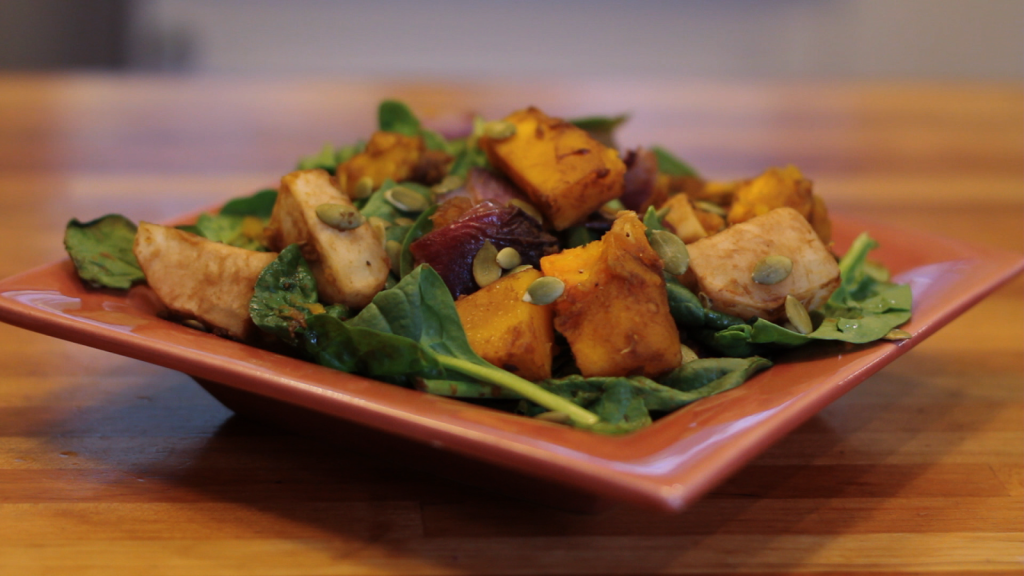
While this would, indeed, be a spectacular side salad for Thanksgiving, it almost seems unfair to make other dishes compete with this because it is such a star. Instead, I prefer to serve this hearty salad as an entree throughout the fall and winter months. For what it’s worth, Mr. Goldhouse says this is easily THE best salad he’s ever had, and one of the best dishes he’s ever had. That is high praise, indeed!
Root-Salad-1
The roasted vegetables become as sweet as candy and because of their rich hues, it looks like you have gorgeous jewels on your plate. (For an even more bejeweled effect, add beets!) In addition to their beauty and deliciousness, root vegetables are also full of phytochemicals that help fight against cancer, diabetes, and heart disease.

Ingredients:
1 1/2 pound butternut squash
2 medium turnips or beets
2 medium parsnips
2 medium red onions
1 tablespoon fresh ginger
1 tablespoon maple syrup
1/2 teaspoon salt (optional)
1 tablespoon balsamic vinegar (more to taste)
fresh pepper, to taste
3-4 cups baby spinach
1/3 cup roasted pumpkin seeds (raw is fine too)

Instructions:
1. Preheat the oven to 450 degrees.
2. Peel all the vegetables and cut them into large chunks.
3. In a large bowl, toss the vegetables with the ginger, maple syrup, water, and salt if using.
4. Spread the vegetables in a roasting pan (I recommend lining it with parchment paper) and roast for 40-60 minutes, stirring half way through, until vegetables are very tender and caramelized. A good way to tell the vegetables are done is when the onions have lost all of their crunchiness and have become sweet.
5. Place the roasted vegetables on top of the baby spinach and top with pumpkin seeds. Season with balsamic vinegar and some fresh ground pepper to taste.
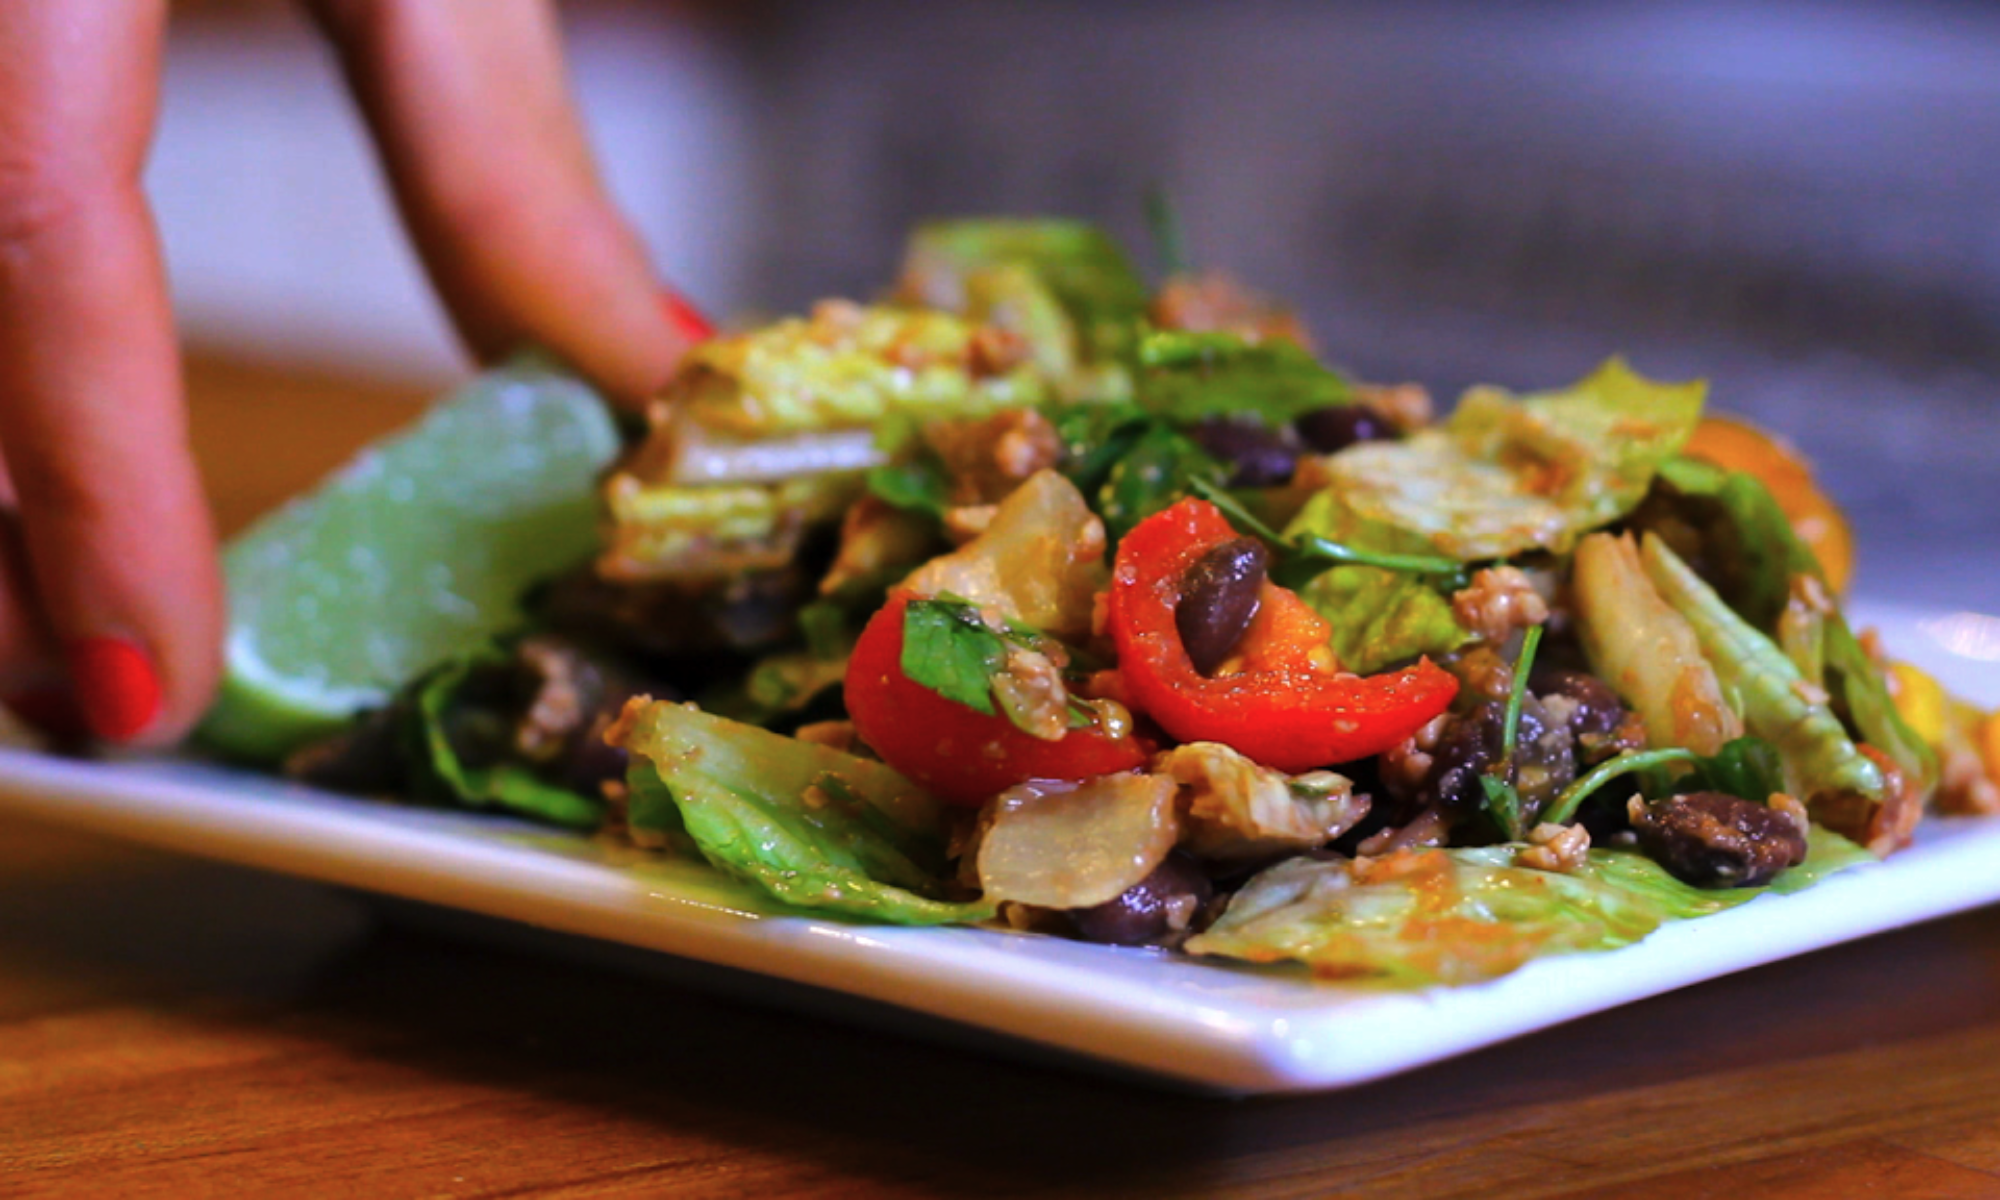
eHow video: “Coconut Milk Tofu Quiche with Onions and Mushrooms”

Tofu-Quiche-2jpg

People often complain that they don’t have time to make dinner every night. Well, guess what? I don’t make dinner every night! That’s right. And yet we never get take out, rarely dine out, and my husband always has a packed lunch to take to work.
How is this possible? Ladies and gentlemen, let me give you a life-saving tip: Make dishes in large enough portions that they will cover the next few days’ meals and/or can be frozen and eaten at another time. That, my friends, is how you can eat healthfully every night without having to spend all your time slaving away in the kitchen. It’s that simple!

Tofu-Quiche-1

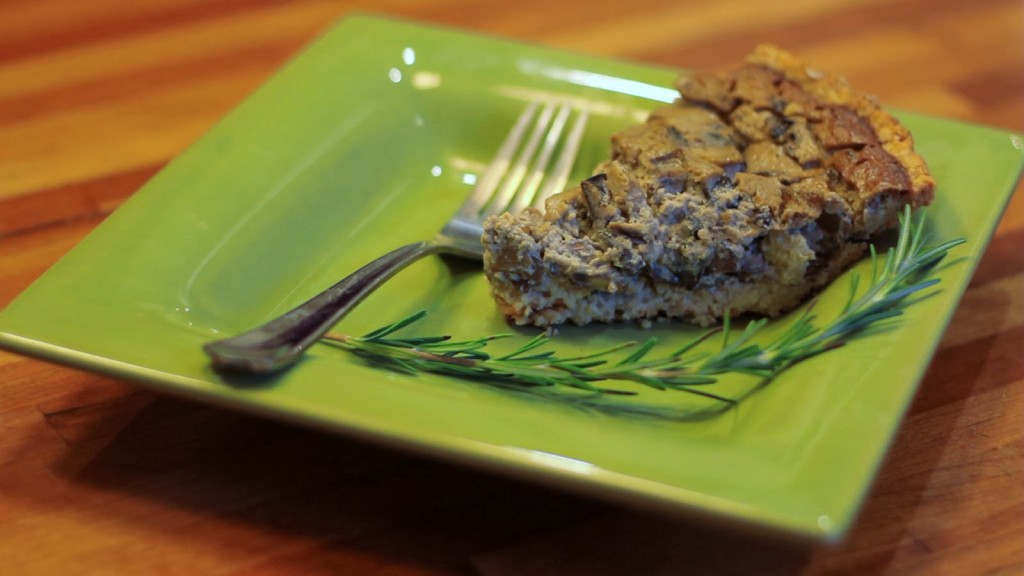
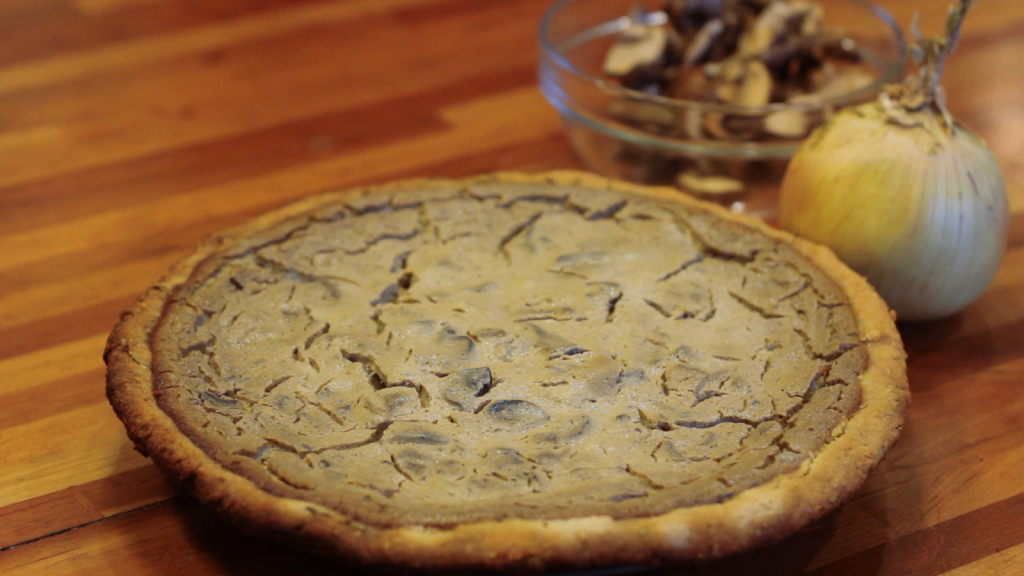
This quiche is a perfect example of a dish that will last for multiple meals. Plus, it’s one of those special dishes that can be enjoyed at any time of day. I love preparing it for dinner and then enjoying it again the next day for breakfast and packing it up for my husband for lunch for the next few days. Because both the crust and the filling contain herbs, each bite is wonderfully aromatic and richly flavorful. Enjoy!

Crust Ingredients:
2 1/2 cups almond meal
1/4 cup water
1 1/2 tablespoons fresh rosemary, finely chopped
1 teaspoon salt

Filling Ingredients:
2 1/2 cups cremini mushrooms, sliced
1 large yellow onion, thinly sliced
2 tablespoons balsamic vinegar
2 packages firm silken tofu
1/4 cup coconut milk (or any other nondairy milk)
3 tablespoons nutritional yeast
3 teaspoons of your favorite herbs (i.e. basil, thyme, sage, oregano, etc.)
1/2 teaspoon salt

Crust Instructions:
1. Preheat the oven to 375. In a medium bowl, combine the almond meal, salt, and rosemary. Add the water and stir until fully combined.
2. Gently press the dough evenly against the bottom and sides of a pie pan. Bake for 10 minutes or until the crust looks dry and just toasted.

Filling Instructions:
1. Slice the tofu and wrap in a few layers of paper towels to drain out the excess moisture. Set aside.
2. Saute the onions and mushrooms in balsamic vinegar until the onions are caramelized, about 10 minutes.
3. In a food processor or blender, mix the tofu, nutritional yeast, nondairy milk, and herbs till smooth.
4. Combine the tofu mixture with the sauteed mushrooms and onions and stir till fully mixed.
5. Pour the filling into the pie crust and bake for 30-40 minutes, or until the top is golden brown. Remove and let cool.

eHow Video: “Healthy Recipe for Carrot Cake With Cream Cheese Topping”

Carrot-Cake-2
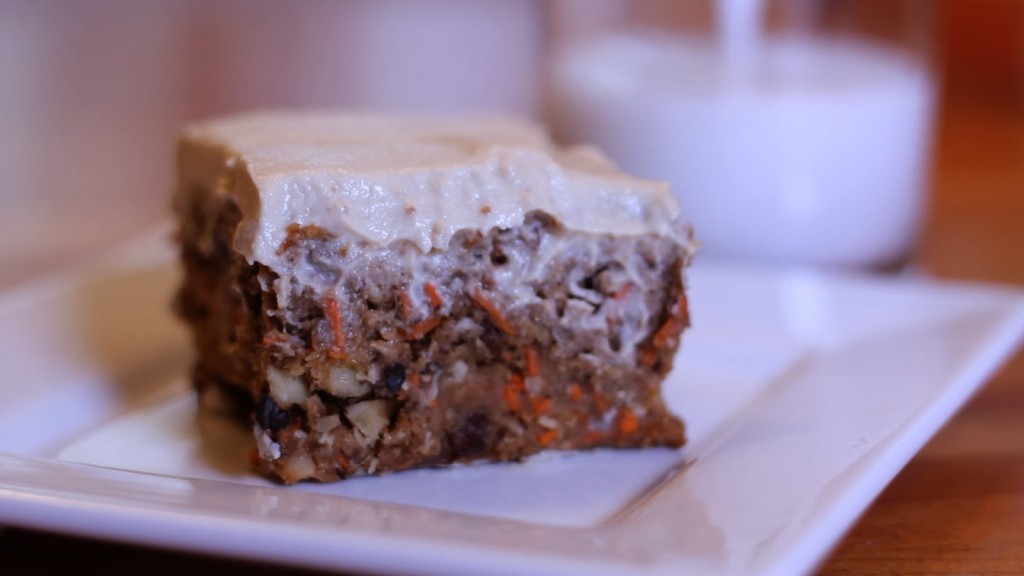
     I love words. I really do. But sometimes, when something is just so good, words are not enough. They just aren’t. I could try and talk about how this cake is surprisingly low in added sugar, and that most of its sweetness comes from whole fruit. Or I could talk about how it’s very high in fiber, beta-carotene, potassium, B vitamins and omega-3’s, while also being completely free of cholesterol (and any other harmful animal products, as always). But I think you’ll get a better sense of how unbelievably outstanding this carrot cake is if I tell you that everyone who tries it for the first time eats the first few bites silently with their eyes closed.
     Yes. It is *that* good.
Cake Ingredients:
2 cups oat flour
2 1/2 cups carrots, shredded
3 teaspoons baking soda
1/4 cup brown sugar
1 cup applesauce, unsweetened
1 cup pineapple, blended
1 banana, mashed
1 teaspoon cinnamon
1 dash cayenne
1 teaspoon vanilla extract
1 cup raw walnuts, chopped
1/2 cup shredded coconut
1 cup raisins
Frosting Ingredients:
1 cup raw cashews, soaked in warm water for at least 2 hours
1/2 cup water
1/4 cup agave
1 teaspoon vanilla
3 tablespoons lemon juiceInstructions:
1. Preheat the oven to 350 degrees.
2. In a small bowl, mix oat flour and baking soda.
3. In a larger bowl, beat the sugar, pineapple, banana, and applesauce together. Add cinnamon, cayenne, and vanilla and mix thoroughly.
4. Add the flour mixture along with the chopped walnuts and shredded coconut to the larger bowl and mix. Add the shredded carrots and raisins till fully combined.
5. Spread the batter in a nonstick pan. Bake for about 50 minutes or until a toothpick inserted into the center comes out clean.
6. While the cake is baking, add all the frosting ingredients to a blender. Process until completely smooth. Using a spatula, scoop the frosting into a small bowl and place in the fridge to chill.
7. Once the cake has fully cooled, spread the frosting on top. Best served chilled.

New Video Series: “Gourmet Vegetable Recipes”

     I recently filmed another cooking series for eHow and am so excited to announce that it is now live! I am especially thrilled that the series was released just as fall arrived because these recipes will be perfect for the holiday  season. They are decadent and rich, but also incredibly healthful and made up of whole, plant-based ingredients.
     A few people have asked me how I come up with the titles for these videos, so I thought I’d take some time to explain a bit about the process. I don’t actually come up with the titles myself, though I do come up with the recipe for each title. There is a database of titles that eHow collects based on what people search when they visit their site. The producer and I go through all those titles and select ones that seem interesting to me and fit a theme that the producer and I have agreed upon.
     When deciding which titles to pick for my first series, I was very clear with the producer that I was only comfortable preparing and promoting vegan dishes. She understood, so I quickly crossed titles like “Zucchini, Ranch Dressing, and Cheese Casserole” off the list of possibilities.
     For this series, however, I took a bit of a risk and did things a little differently…
     I intentionally picked titles that one would assume were not not vegan, such as “Acorn Squash Stuffed with Sausage and Ricotta.” When I showed the producer the titles I had selected, she said, “you know you’ll have to use sausage, right?” I responded, “Yes. I absolutely will be using sausage, as they title indicates. I will just be using a sausage that is plant-based rather than one that animal-based.” And she was fine with that.
     My hope for this series is that people who aren’t necessarily vegan will come across these recipes and realize that they can get all the familiar flavors they are looking for without using animals. Realizing this is a powerful thing because it means that three times a day we get to put the values we all share–peace, responsibility, truth, and health–into concrete reality.
     Here is the link to all the videos, but I will also be posting each one with some additional information and photos here as well. May this inspire you to see that you can live and eat according to your values with pleasure and joy 🙂

Our Values

There are times when I speak about being vegan that people defensively claim, “not everyone thinks the way you do or shares your same values.”

But I refuse to believe that’s true.

After all, don’t most of us value peace and non-violence? Don’t most of us value compassion and kindness? Don’t most of us value truth and knowledge? Don’t most of us feel it’s wrong to cause unnecessary suffering and death?

These are not *MY* values; they are *OURS.*

It’s not arrogant of me to assume most people share my values; it would be arrogant of me to assume that they don’t.

My eHow Video Series: Southern Sweet Potato Pie Recipe

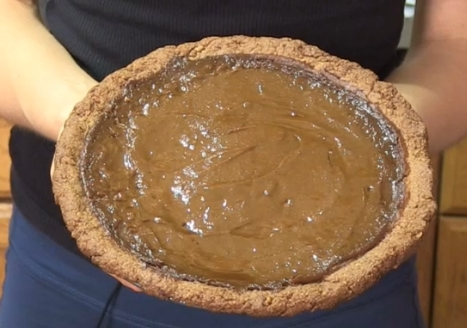
The final recipe in this video series is, quite appropriately, a dessert. I made the pumpkin version of this recipe last Thanksgiving and it was such a hit that I decided to make it for my in-laws down South during our visit over Christmas. My husband’s grandfather was a chef in the army during the Korean war and has been baking ever since, so my in-laws are used to only the tastiest of desserts. Plus, he has a particular expertise in pies, so my choosing to bake this for everyone shows just how confident I am in this outstanding recipe.
Everyone who tried it absolutely loved it. Because the pie has no dairy, no butter, no eggs–which we are so used to thinking of as necessary ingredients for delicious baked goods–and it’s gluten-free to boot, I think they were surprised to find it so incredibly delicious.

1eda21d1-1055-4daa-b196-8c91b4882a37_zps63da5f05
     But as I’ve said before, one of the most significant things I have learned since going vegan is that we don’t have to choose between honoring our taste buds, promoting our health, or living by our values. I hope that from watching this series, you also see that we CAN eat in a way that upholds and celebrates all these things simultaneously. And if we can, why wouldn’t we?
     Thanks so much for watching. You can also see the full series on eHow HERE. If you have any questions, don’t hesitate to reach out. That’s why I’m here.
     Please share these videos with others!!

Ingredients:
Crust:
1 cup oat flour
2 cups raw pecans, processed in a food processor for 30 seconds till oils release
3 tbsp ground flax
1 tsp ground cinnamon
1/2 tsp kosher salt
1/4 cup brown rice syrup
2 tbsp canola oil
Filling:
2 1/4 cups canned sweet potato
1/2 cup brown sugar
1/4 cup almond milk
1/4 cup pure maple syrup
3 tbsp arrowroot starch (or cornstarch)
2 tsp vanilla extract
2 tsp cinnamon
1/2 tsp ground ginger
1/2 tsp nutmeg
1/2 tsp ground cloves

Instructions:
1. Preheat the oven to 350 degrees. Lightly oil a 9-inch pie pan.
2. Melt canola oil with brown rice syrup for about 30 seconds in a microwave. Pour into a large bowl with pecans.
3. Add the rest of the crust ingredients and mix together. Using your hands, squeeze the dough over and over to combine very well. If too dry, add more canola oil.
4. Press pecan dough firmly into pie dish to form a crust.
5. Pre-bake at 350 degrees for 10 minutes. Remove and cool for 10 minutes.
6. In a large bowl, whisk together the maple syrup and cornstarch.
7. Add remaining ingredients and whisk together, adjusting spices to taste.
8. Pour the filing onto crust. Cover with tin foil and bake for 50-55 minutes at 350 degrees. Place on a cooling rack for 1 hour.
9. Transfer to fridge to set for a minimum of 3 hours or overnight (this is a must!). Do not slice until it’s been in the fridge for at least 3 hours. Slice with a very sharp knife and enjoy every bite!

My eHow Video Series: Oven-Roasted Bell Peppers

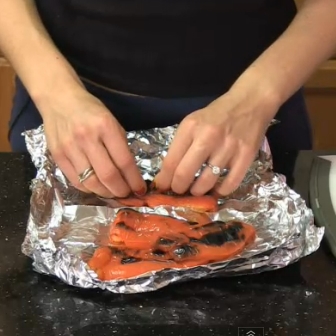
Bell peppers get their red, orange, and yellow color from carotenoids, which provide antioxidant and anti-inflammatory benefits that can help lower our risk of cancer development and heart disease. Bell peppers are also loaded with vitamin C, which supports our immune system. Given that they also taste fantastic, why wouldn’t we want to make bell peppers a regular ingredient in our diet?

afc491e2-f7e3-49db-9584-5bf3b7f899ef_zpsde09dbe4

In the video below, I show you how to roast bell peppers in the oven. As you’ll see, it’s quite simple. Roasting bell peppers really brings out their almost candy-like sweetness. I love to make salad dressings with pureed roasted bell peppers or blend them up with my hummus, but they are also delicious in a sandwich, on top of salad greens, or as a side dish. What’s your favorite way to enjoy roasted bell peppers?

My eHow Video Series: Roasted Cauliflower With Mustard Butter

Because cauliflower is white, people often assume it’s a nutritional dud, on par with iceberg lettuce. But cauliflower is part of the cruciferous, or cabbage, family of vegetables. Other cruciferous vegetables include kale, bok choy, broccoli, and Brussels sprouts, which are more well-known as nutritional superstars. Cauliflower provides special nutrient support for the body’s detox system, antioxidant system, and inflammatory/anti-inflammatory system, all of which are closely connected with cancer development and cancer prevention. There are numerous studies linking diets high in cauliflower to cancer prevention, particularly breast, bladder, colon, prostate, and ovarian cancers. In addition, cauliflower contains a wide array of antioxidants, which also helps to lower cancer risk.

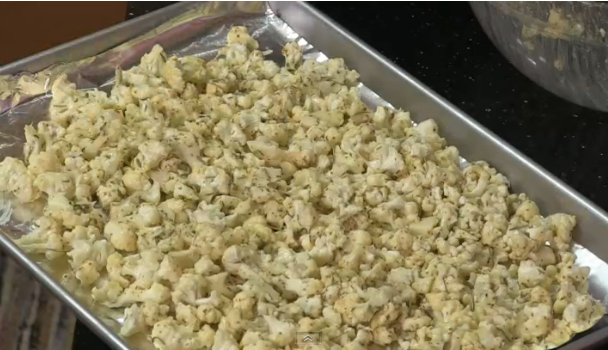
Screenshot2013-07-24at40105PM_zps932d7527
     In this video, I demonstrate what is perhaps my favorite way to eat cauliflower. There is no butter, just a smooth and buttery consistency provided by the mix of mustards. Pop the florets into your mouth and enjoy it as fun appetizer, or serve it as a delicious side dish. Either way, it won’t last long!

Ingredients:
1 (2 pound) head of cauliflower, cut into 1-inch florets
2 garlic cloves, chopped
1 teaspoon dried rosemary
1 teaspoon dried thyme
1 tablespoon dry white wine
2 tablespoons Dijon mustard
2 tablespoons whole-grain mustard
2 tablespoons water

Instructions:
1. Preheat the oven to 400 degrees F. Line a baking sheet with tinfoil. Set aside.
2. In a large bowl, mix sauce ingredients and stir until smooth. Add cauliflower and toss to coat.
3. Spoon the cauliflower evenly on the baking sheet.
4. Roast for 15-20 minutes until browned slightly. Transfer to a plate and serve.

My eHow Video Series: Crescent Spinach Dip

Have you ever looked up the ingredients in traditional spinach dip? You’ll find things like butter, mayo, heavy cream, and dairy cheese. It’s not really fair to call it “spinach” dip. “Saturated fat” dip would be more accurate.
The really sad thing is that none of these unhealthful ingredients are necessary for making a fantastic dip. We just include them because we always have. But just because we always have done something doesn’t mean we always have to keep doing it. We need not be slaves to custom or tradition or habit. I think most people would agree that custom, tradition, or habit aren’t good enough reasons to continue causing harm to ourselves or others, ESPECIALLY when there are quick and easy alternatives out there.
My version of spinach dip takes the spinach seriously. And, in addition to using a whole package of thawed frozen spinach, I also use a whole head of kale. Like spinach, kale is loaded with vitamins A, C, K and folic acid, and it’s also a rich source of calcium and iron. Kale also contains carotenoids, which are potent antioxidants with natural inflammatory properties that help prevent some cancers.

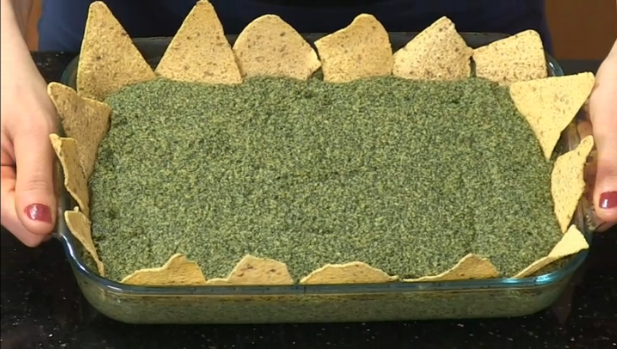
Screenshot2013-07-24at23109PM_zps0ace2f5c
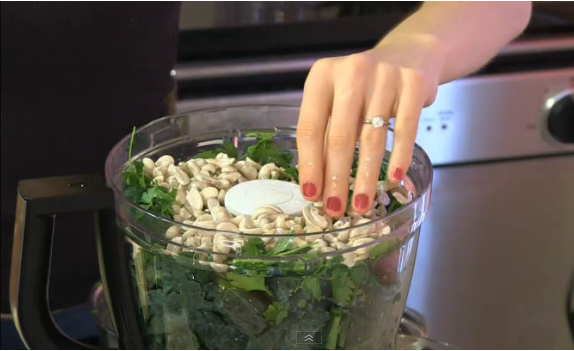
     I use cashews to add a rich creaminess that we too often mistakenly think we can only get from dairy products. Plus, cashews have numerous health benefits. They are high in copper which helps defend against iron deficiency anemia, ruptured blood vessels, osteoporosis, joint problems such as rheumatoid arthritis, elevated LDL cholesterol and reduced HDL cholesterol levels, and irregular heartbeat. Because of their high antioxidant levels, nuts like cashews have been linked to lower risks of cardiovascular and coronary heart disease. For additional creaminess, I use beans, which also adds protein and even more fiber to this already fiber-rich dip. (For more on the wonderful world of beans, see here.)
Screenshot2013-07-24at34856PM_zps6b2e38e2
     This is one of my favorite dishes in this whole series. I love this recipe because it demonstrates that you can eat in a way that reflects your deepest values of health and compassion AND feel like you’ve died and gone to heaven because it tastes so good. For me, the beauty of being vegan is that we can have both!

Ingredients:
16 oz. organic frozen spinach, thawed
1 bunch kale, chopped
1/2 cup raw parsley
1 cup raw cashews, soaked in warm water about 20 minutes
3 cloves of garlic
1/4 cup lemon juice
2 Tbsp apple cider vinegar
1 tsp sea salt
5 Tbsp Nutritional Yeast Flakes
1-15 oz can white beans
(optional: Daiya cheese)

Instructions:
1. Add all your ingredients (except beans and cheese) to a food processor or blender. Blend until smooth.
2. Pulse in the beans.
3. Pour spinach dip into a heat-safe serving dish. Add the Daiya cheese on top if using and place in a 350 degree oven for 15 min.
4. Serve warm with veggie sticks, bread squares and rice crackers.

My eHow Video Series: Light, Baked French Fries (Carrot Fries!)

I absolutely adore carrots. I probably eat about 10 big carrots a day. Some might say I’m obsessed. I’m actually pretty sure the people at my food co-op think that because recently one of the cashiers said he was gathering up his nerve to ask me on behalf of himself and his co-workers why I buy so many. The answer? I just like them. A lot. They are so beautiful and so crunchy. Their flavor is earthy and complex, yet also delicate and subtle. And they are so versatile. I mean, you can eat them with everything! Why in the world people eat potato chips when they could be eating carrots is beyond me.
And if you’re wondering if my skin is orange, it’s not. But I do have a healthier glow. Since beginning my mad love affair with carrots, I get asked all the time if I’ve just been on vacation because I look tan. In fact, this happens so frequently that my husband started getting jealous and now he juices carrots for breakfast. Ha! I eat mine whole, though. Because I am hard core like that.
Anyway, back to this video. We all know that the best way to make French fries lighter is to bake them rather than fry them. But, can we go further? Is there a way to make baked French fries even more healthful?
Why, yes! There is!

b88f668c-5aa9-4578-baa9-10a07bd20be5_zpsbc25b248

Use carrots, of course!
Because carrots are so sweet and flavorful on their own, you’ll find that you don’t really need to douse them with salt. And while you certainly could dip them in ketchup, you may not even want to because they taste so good on their own. This recipe is so simple, and it’s obviously healthier alternative to traditional French fries. And needless to say, it is wonderfully delicious.