The World’s Best Cornbread Recipe (not even kidding)
eHow Video: Dry Roasted Soybeans & Some Words on Soy Myths
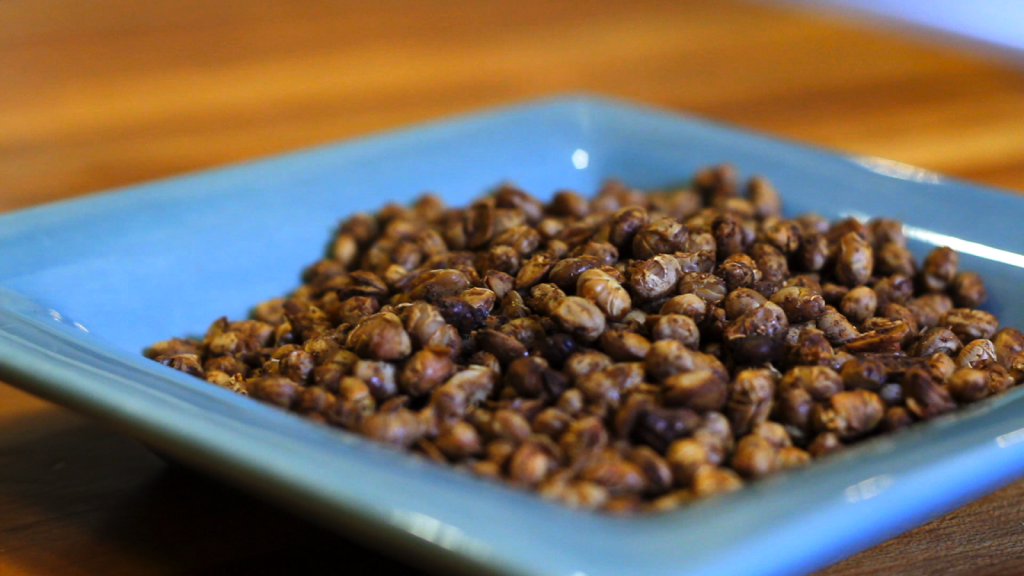
We all know that beans make a great dip or a great chili, but did you know they also make a great snack?
You really could us apply this recipe to any type of bean but I think soybeans are just the perfect size and, frankly, this recipe really hits the spot so I’m not too inclined to mess with it.
Many roasted bean recipes will say olive oil is necessary to get the spices to stick onto the beans, but I find they spices stick just fine if the beans are wet, so I just add the spices right after I rinse the beans. This recipe calls for 1/2 teaspoon salt, which, if you are snacking with others, is pretty moderate but you are certainly free to use less or omit it entirely if you are on a low-sodium diet.
Soybeans are incredibly nutritious. In fact, according to a recent research analysis, if Americans replaced their meat and dairy intake with soy, they would increase they intake of calcium, magnesium, iron, vitamin K, folate and fiber. But despite the plethora of scientific evidence about the health benefits of soy, there is still a lot of misinformation that continues to get passed around. I have heard some pretty extreme claims, everything from “I avoid soy because it causes dementia” to “Soy causes breast cancer” to “I don’t let my son have soy because it will turn him into a girl.” We’ve all heard claims like this, or perhaps we’ve even been the one doing the speaking. When we absorb or pass on these claims we are buying into and perpetuating a multimillion dollar anti-soy campaign sponsored by the meat and dairy industry.
So here are some important myths about soy I wanted to debunk right off the bat to put your mind at ease.
Myth: “Soy causes dementia.”
Reality: Soy does not cause dementia; in fact, it improves cognition. This myth seemed to originate from a study in which researchers found that tofu had harmful cognitive effects on people in Indonesia. However, the same was not true for tempeh, which is a more concentrated source of soy, so clearly soy itself was not the problem but something that was being added to the tofu. Well, guess what they use a preservative for tofu in Indonesia? Formaldedye! Yep, the same flammable human carcinogen that’s used to make home industrial products. So next time someone tells you soy causes dementia, set the record straight and say that formaldedye might but soy certainly does not.
More info:
http://nutritionfacts.org/video/does-tofu-cause-dementia/
Myth: “Soy causes breast cancer.”
Reality: This myth stems from the belief that soy has estrogen, and higher levels of estrogen have been linked to breast cancer. But soy doesn’t even have estrogen! It has something called phytoestrogen, but this is not estrogen. Estrogen is a sex hormone that is found in all animals (including humans). Soy, in fact, is actually protective against breast cancer. It has been shown to reduce both the recurrence of and the risk of death from breast cancer.
More info:
http://nutritionfacts.org/video/brca-breast-cancer-genes-and-soy/
http://nutritionfacts.org/video/breast-cancer-survival-and-soy/
http://nutritionfacts.org/video/soy-breast-cancer-3/
Myth: “Soy gives men “man boobs.”
Reality: Again, this probably stems from the confusion between estrogen and phytoestrogen. Soy has been shown to have no effect on a man’s testosterone levels or circulating estrogen levels whatsoever. Also, if you are concerned about getting too much estrogen from soy but are still drinking breast milk from a 1,500 lb cow, I think you are barking up the wrong tree. Cows, like humans, only produce breast milk after giving birth. The demand for dairy means that a cow is essentially always pregnant so that she will always be producing milk. So those who consume dairy are consuming the milk from pregnant cows, which have a whole lot of estrogen. In fact, people who consume meat and dairy have significantly higher levels of estrogen in their blood. Definitely check out this study which examined what happens to men’s hormone levels within in just one hour of consuming dairy (hint: their estrogen levels went up and their testosterone levels went down!).
More info:
http://www.fertstert.org/article/S0015-0282(10)00368-7
Myth: “All soy is GMO so it’s poison.” (I’ve actually heard this one verbatim.)
Reality: First of all, the largest consumer of GMO soy is farmed animals. In her article, “A Vegan Doctor Addresses Soy Myths and Misinformation”, Holly Wilson, M.D. explains that this GMO soy “does not just magically evaporate in the slaughterhouse or milk processing plant. It ends up on your plate.” Secondly, numerous brands of non-GMO tofu, tempeh, soy milk, and soy beans can be found in your grocery store labeled clearly on the package. These include Silk, Morinaga, and many others (see a comprehensive list here).
For more information debunking the misinformation about soy, read “Being Vegan and Eating Soy: Myths, Truths, and Everything In Between” by Christa Novelli M.P.H.
So please, let yourself relax about soy and enjoy this delicious and healthful snack without a worry in the world. These crunchy and crispy little beans are so much fun to pop into your mouth. Be warned: they are quite addictive!
Ingredients:
2 cans of soybeans, drained and rinsed.
1 teaspoon chili powder
1 teaspoon cumin
1/2 teaspoon salt (optional)
1/2 teaspoon allspice
1/4 teaspoon cayenne
Instructions:
1. Preheat the oven to 400 degrees. In a medium bowl, toss the spices with the soybeans until evenly coated.
2. Spread the soybeans in one layer onto a tinfoil-lined baking sheet.
3. Roast the soybeans for 45-60 minutes, stirring every 20 minutes so they cook evenly.
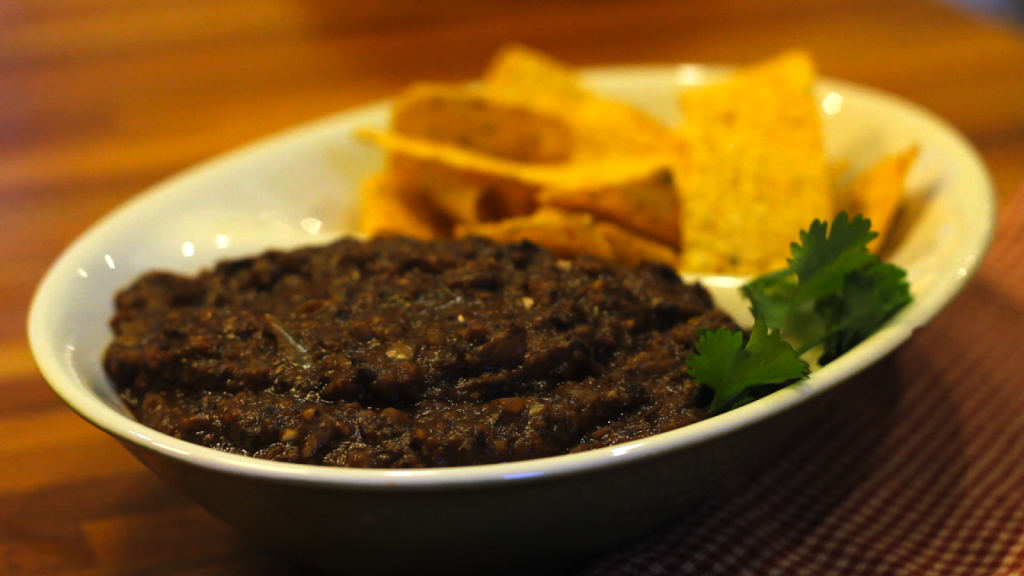
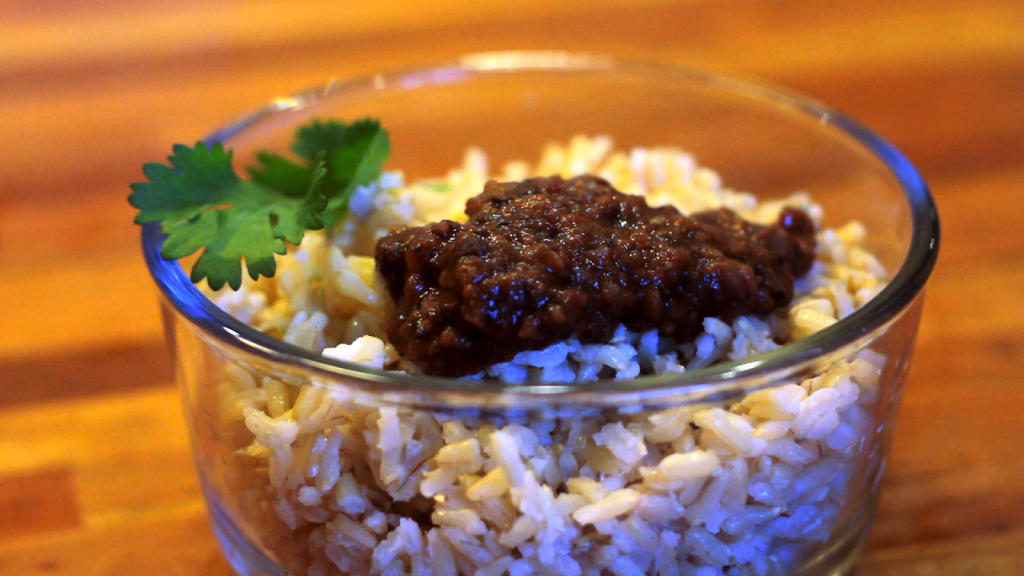
eHow Video: Saucy Black Bean Dip
eHow Video: “Filipino Eggplant Salad”
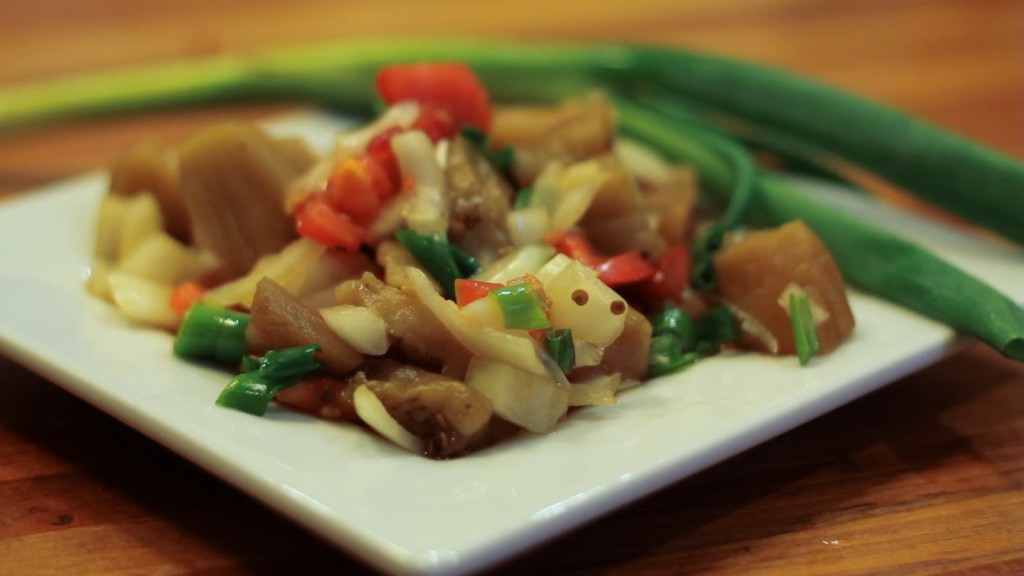
“Ensaladang Talong” is a traditional Filipino eggplant salad that is typically made with shrimp paste and lots of white vinegar. One of the reasons for so much white vinegar is because it helps reduce the fishy taste of the shrimp paste and the fish this salad usually accompanies. That just seems silly to me, especially when you could just not use any shrimp paste and serve it with something other than fish. Personally, I want to taste the ingredients in my dishes. If something doesn’t taste good and isn’t serving any particular function, then why bother including it?
In the recipe below, I show you how to prepare a fish-safe version of this salad. Since I wasn’t using shrimp paste and, therefore, didn’t need to worry about cutting any flavors, I used rice vinegar, which is milder and sweeter than white vinegar, and really enhances the tangy combination of the onion, tomatoes and chili.
I like to make this salad and then enjoy it in a variety of ways over the next several days. Some of my favorites ways to eat it are with grilled tofu, tossed with garbanzo beans, or over a bed of brown rice. What might some of your favorite ways to enjoy this salad be?
Ingredients:
1 large eggplant
2 tomatoes, chopped
1 onion, chopped
1/2 teaspoon salt (optional; I prefer to omit)
1 slice red chili
3/4 cup rice wine vinegar
2 tablespoons low-sodium soy sauce or tamari
2-3 scallions
Instructions:
1. Prick the flesh of one large eggplant with a fork and roast at 100 degrees for 45 minutes. Once cool, peel the skin, cut the stem and mash lightly with a fork.
2. In a bowl, combine two chopped tomatoes, one chopped onion, one half teaspoon salt and one slice of red chili. Add the eggplant and then toss to mix.
3. To prepare the dressing, mix three quarter cup of wine vinegar, two tablespoons of soy sauce and some freshly ground pepper. Pour the dressing over the vegetables and mix and then garnish with some sliced scallions.
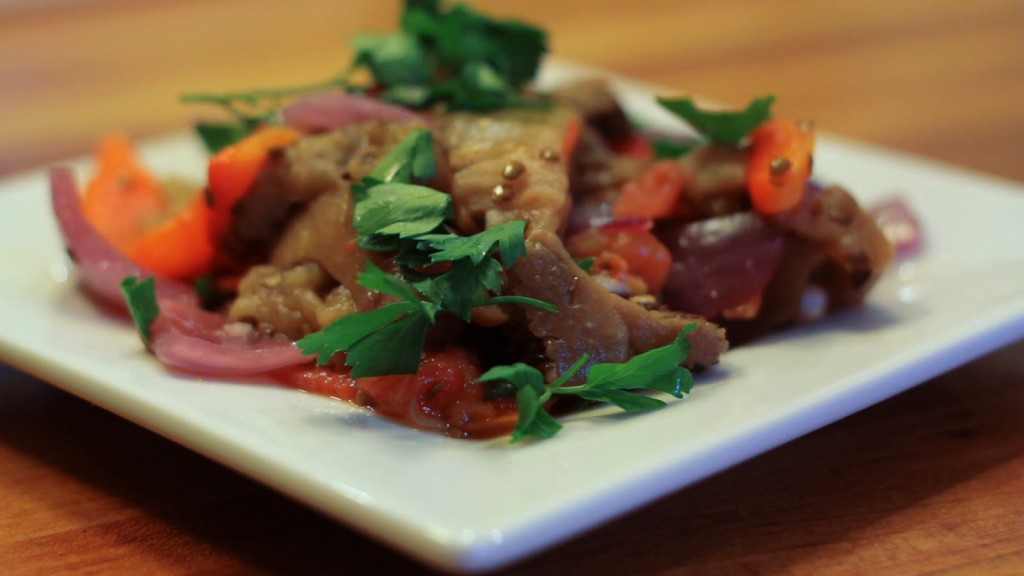
eHow Video: “Spanish Eggplant Salad” (Escalivada)
eHow Video: “Southern-Style Mustard Greens”
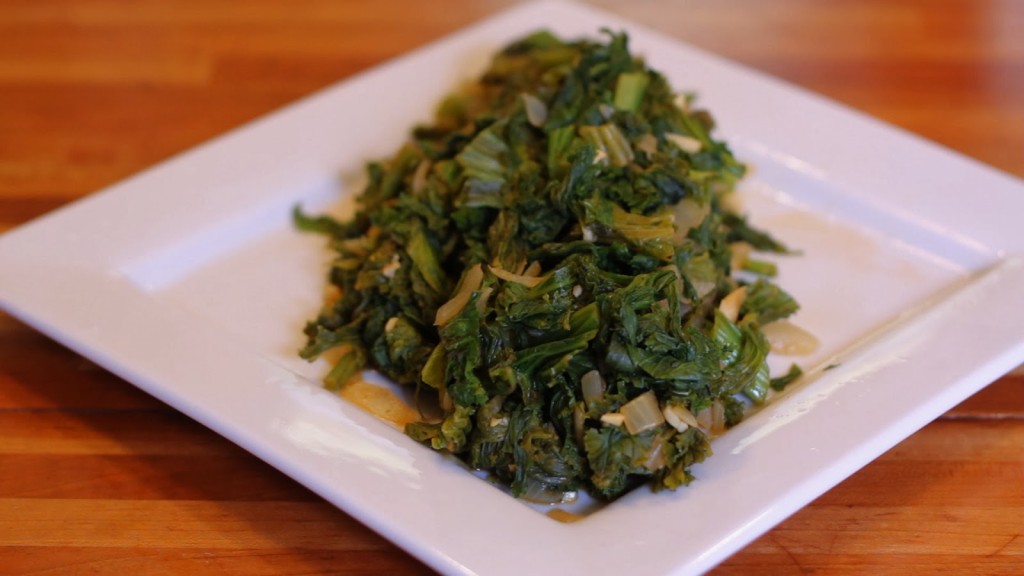
Mustard greens are so incredibly healthful, it was hard to decide which of their many benefits I ought to focus on in this post. Here are just three reasons why you’ll want to incorporate more of these luscious leafies into your diet:
Cardiovascular Benefits
Mustard greens support the cardiovascular system in three significant ways. First, they are anti-inflammatory. Inflammation narrows the arteries and increases the risk that they’ll become blocked, so these anti-inflammatory properties are obviously a huge benefit. Second, by binding with bile acids in the intestines, mustard greens help lower cholesterol levels. And third, because mustard greens are exceptionally high in the B-vitamin folate, they help prevent homocystein build-up. Homocystein is an amino acid found in the blood that is acquired mostly from eating animal products. High levels are related to the development of heart and blood vessel disease.
Cancer Prevention
Mustard greens are also powerful cancer-fighters because they are LOADED with a broad spectrum of antioxidants. Chronic oxidative stress is a major risk factor for the development of most cancer types and antioxidants lower our risk of oxidative stress on our cells (hence the name: anti- oxidants). For the record, plants have on average 64 times more antioxidant power than animal products. The few antioxidants that do happen to be found in animal products are only there because those animals were fed plants.
Bone Health
And lastly (though I truly could go on endlessly), mustard greens are an excellent source of calcium. While dairy products have long been touted as “good for your bones,” the countries with the highest consumption of dairy also have the highest rates of osteoporosis. This is because dairy, like all animal products, is highly acidic. The body needs to keep a very specific acid-alkaline balance in order to function, so whenever animal products are consumed, the body must find an alkaline source so it leaches the calcium from our bones (which is high in alkaline). So, in fact, consuming dairy products are quite harmful to our bones. Mustard greens, on the other hand, along with other greens like kale, collards, bok choy, broccoli, and okra, are not acidic and thus only contribute to the strength of our bones.
So while you enjoy this quick and tasty recipe, you can also feel good knowing that you are eating one of the most healthful foods on the planet!
Resources:
http://www.whfoods.com/genpage.php?tname=foodspice&dbid=93
http://www.vrg.org/nutrition/calcium.php
http://www.pcrm.org/health/health-topics/calcium-and-strong-bones
eHow Video: “How to Make Southern Candied Yams”
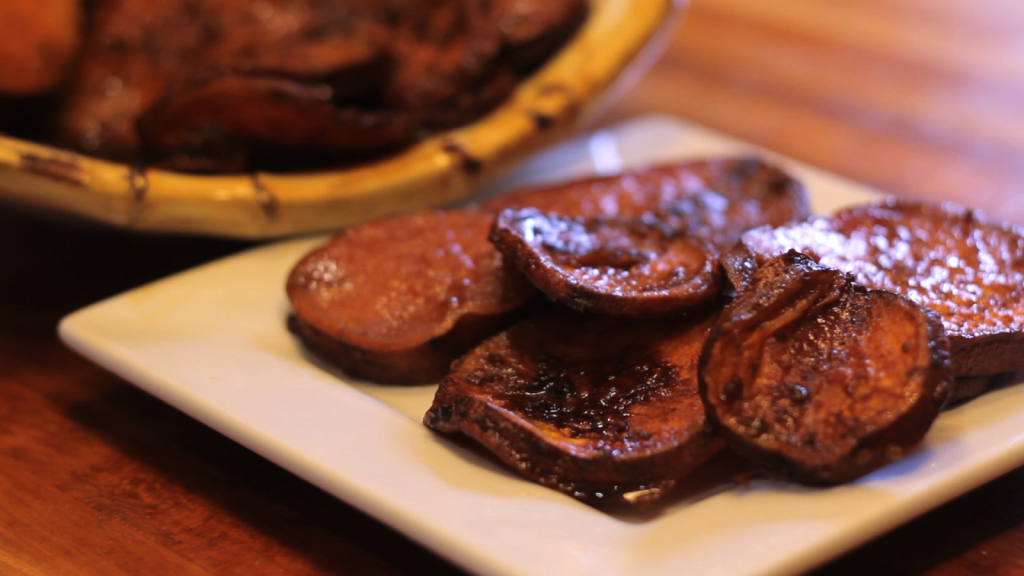
Ladies and gentlemen, I present to you what may be the greatest side dish of all time!
The first time I made this dish I ended up completely ignoring the main course and instead consumed all the yams.
By myself.
It was glorious.
I will most definitely be making this dish for Thanksgiving this year and then again when we go down South to visit my in-laws over Christmas.
Also, just to be totally honest here, when I say “yams” I actually mean “sweet potatoes.” Don’t be mad though, because when you say “yams” what you probably mean is “sweet potatoes” too. What we commonly refer to as a “yam” in the U.S. is actually a “sweet potato.” Even in grocery stores, what are labeled “yams” are usually “sweet potatoes.” The USDA has tried to crack down on this crazy scandal by requiring that sweet potatoes labeled “yams” include “sweet potatoes” in the label as well. That’s why you’ll often see “sweet potato yams.” Both yams and sweet potatoes are nutritionally similar but sweet potatoes have a nutritional edge because they have much higher levels of vitamin A, vitamin B6, and vitamin C.
While I usually don’t cook with oil because it is a processed food without any fiber, sweet potatoes (aforementioned “yams”) are one of those foods that benefits from being eaten with a small amount of fat. (Keyword here is “small,” folks! I’m talking 1-2 tablespoons for an entire recipe.) The fat allows us to better absorb the beta carotene, an antioxidant that is critical for eye health, bone health, and reproductive health.
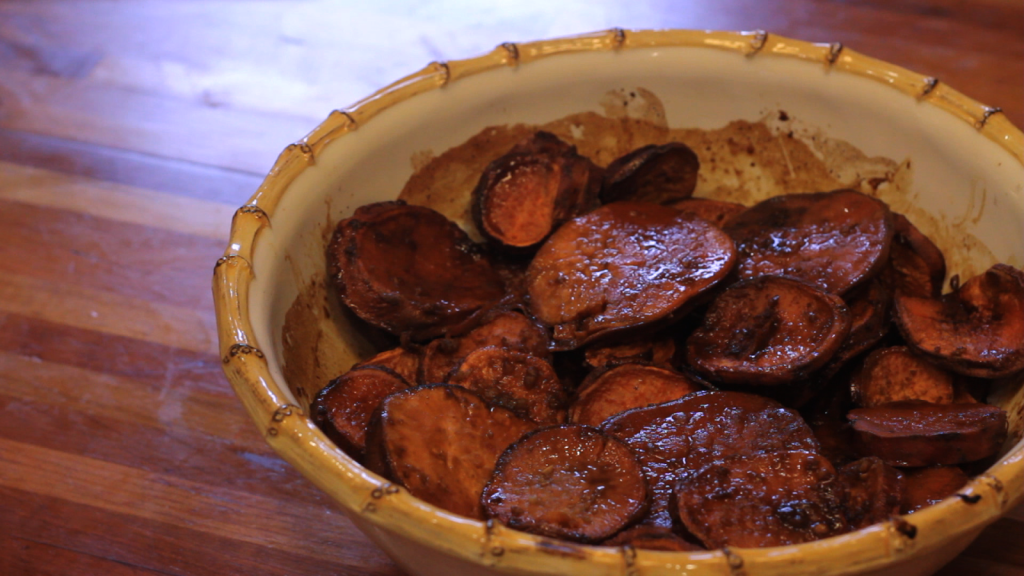
Instructions:
1. Preheat the oven to 425 degrees.
2. In a large bowl, toss the sweet potatoes with 1 tablespoon of the sesame oil.
3. Spread the sweet potatoes onto a parchment-lined baking sheet in a single layer and roast for 25 minutes. Flip, and roast for another 25 minutes.
4. Place the cinnamon stick at the bottom of a 2-quart baking dish, and add the sweet potatoes in layers. Set aside.
5. In a medium-size bowl, whisk together the remaining six ingredients plus the remaining tablespoon of sesame oil and pour over the sweet potatoes.
6. Bake, uncovered, for 30 minutes.
eHow Video: “Roasted Root Vegetable Salad with Pumpkin Seeds”
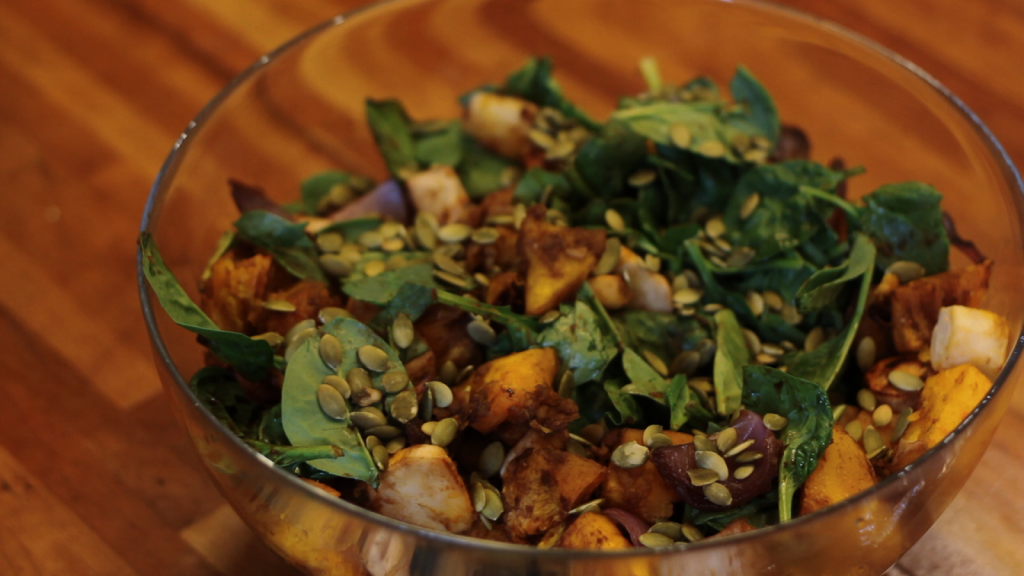
While this would, indeed, be a spectacular side salad for Thanksgiving, it almost seems unfair to make other dishes compete with this because it is such a star. Instead, I prefer to serve this hearty salad as an entree throughout the fall and winter months. For what it’s worth, Mr. Goldhouse says this is easily THE best salad he’s ever had, and one of the best dishes he’s ever had. That is high praise, indeed!
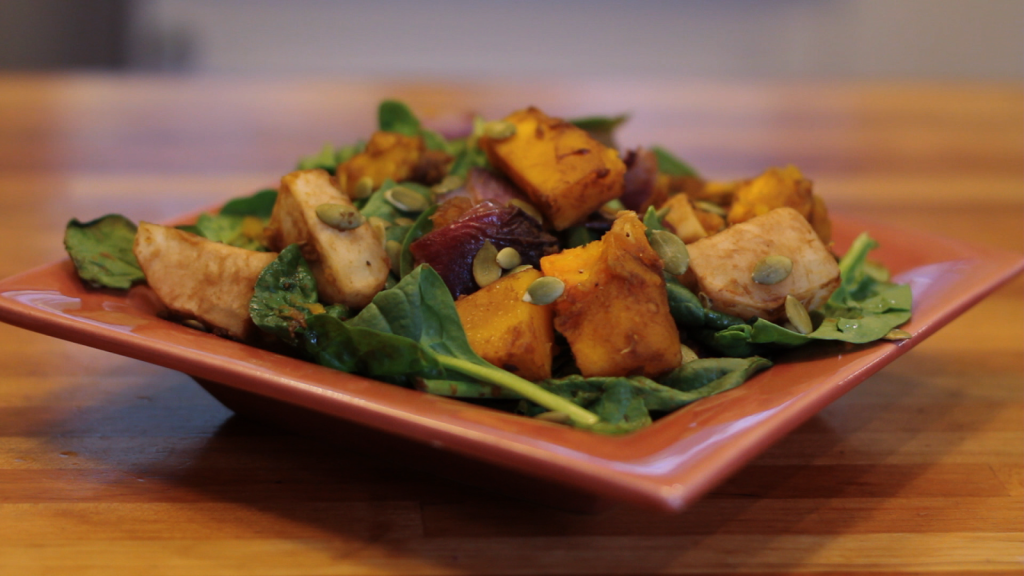
The roasted vegetables become as sweet as candy and because of their rich hues, it looks like you have gorgeous jewels on your plate. (For an even more bejeweled effect, add beets!) In addition to their beauty and deliciousness, root vegetables are also full of phytochemicals that help fight against cancer, diabetes, and heart disease.
Instructions:
1. Preheat the oven to 450 degrees.
2. Peel all the vegetables and cut them into large chunks.
3. In a large bowl, toss the vegetables with the ginger, maple syrup, water, and salt if using.
4. Spread the vegetables in a roasting pan (I recommend lining it with parchment paper) and roast for 40-60 minutes, stirring half way through, until vegetables are very tender and caramelized. A good way to tell the vegetables are done is when the onions have lost all of their crunchiness and have become sweet.
5. Place the roasted vegetables on top of the baby spinach and top with pumpkin seeds. Season with balsamic vinegar and some fresh ground pepper to taste.
My eHow Video Series: Oven-Roasted Bell Peppers
Bell peppers get their red, orange, and yellow color from carotenoids, which provide antioxidant and anti-inflammatory benefits that can help lower our risk of cancer development and heart disease. Bell peppers are also loaded with vitamin C, which supports our immune system. Given that they also taste fantastic, why wouldn’t we want to make bell peppers a regular ingredient in our diet?
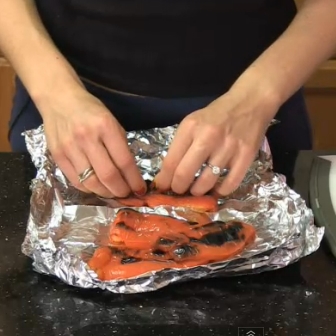
In the video below, I show you how to roast bell peppers in the oven. As you’ll see, it’s quite simple. Roasting bell peppers really brings out their almost candy-like sweetness. I love to make salad dressings with pureed roasted bell peppers or blend them up with my hummus, but they are also delicious in a sandwich, on top of salad greens, or as a side dish. What’s your favorite way to enjoy roasted bell peppers?
My eHow Video Series: Roasted Cauliflower With Mustard Butter
Because cauliflower is white, people often assume it’s a nutritional dud, on par with iceberg lettuce. But cauliflower is part of the cruciferous, or cabbage, family of vegetables. Other cruciferous vegetables include kale, bok choy, broccoli, and Brussels sprouts, which are more well-known as nutritional superstars. Cauliflower provides special nutrient support for the body’s detox system, antioxidant system, and inflammatory/anti-inflammatory system, all of which are closely connected with cancer development and cancer prevention. There are numerous studies linking diets high in cauliflower to cancer prevention, particularly breast, bladder, colon, prostate, and ovarian cancers. In addition, cauliflower contains a wide array of antioxidants, which also helps to lower cancer risk.
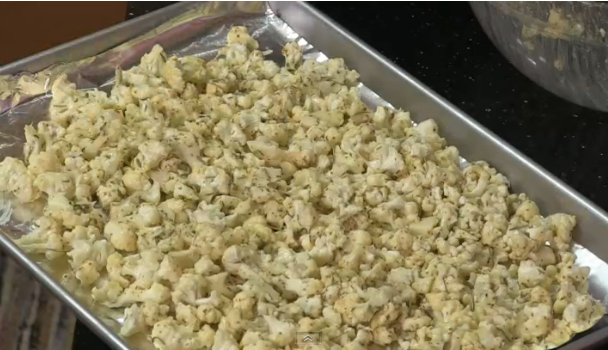
Ingredients:
1 (2 pound) head of cauliflower, cut into 1-inch florets
2 garlic cloves, chopped
1 teaspoon dried rosemary
1 teaspoon dried thyme
1 tablespoon dry white wine
2 tablespoons Dijon mustard
2 tablespoons whole-grain mustard
2 tablespoons water
Instructions:
1. Preheat the oven to 400 degrees F. Line a baking sheet with tinfoil. Set aside.
2. In a large bowl, mix sauce ingredients and stir until smooth. Add cauliflower and toss to coat.
3. Spoon the cauliflower evenly on the baking sheet.
4. Roast for 15-20 minutes until browned slightly. Transfer to a plate and serve.
